Home -›
POS-Hardware -›
Printers -› mC-Print3

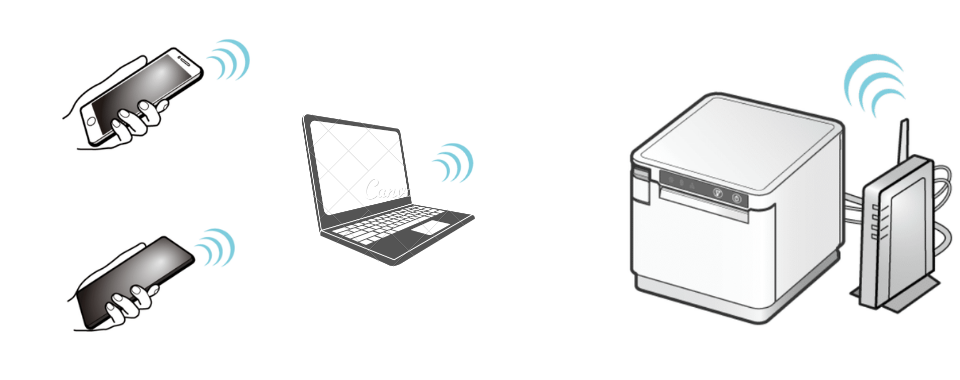
How to set up a Star mC-Print3 printer to print from any device using SplitAbility POS on a LAN.
The mC-Print can be configured using either:
Connect the printer to LAN using an Ethernet Cat 5 or Cat 6 patch cable (RJ45 connector).
Perform a "Self Test" to check the settings of the printer:
Set the printer to use a static IP address:
Set SplitAbility to send prints to the above static IP address:
Optional:
Trouble shooting:
To reset a Star WebPRNT printer to factory default settings:
For detailed information, refer to Star's on-line manual: mC-Print3 Online Manual
See Also:
Set up - Use a Browser or download the App

Star printer models: MCP31L & MCP31LB
How to set up a Star mC-Print3 printer to print from any device using SplitAbility POS on a LAN.
The mC-Print can be configured using either:
- A web browser.
Note: Some configuration setting can only be accessed via the mC-Print Utility App.
e.g. Memory Switch Setting. - The mC-Print Utility App (down-load from the Play Store or App Store).
Connect the printer to LAN using an Ethernet Cat 5 or Cat 6 patch cable (RJ45 connector).
Perform a "Self Test" to check the settings of the printer:
- Turn the printer off - Hold down the power button on the right side of the operation panel for 1 second or more.
- While holding down the FEED button, press the Power button, and release it.
- Release the FEED button when Self-Printing has started.
- The first print contains the printer settings, a short time after the second will give the interface settings of the printer.
Set the printer to use a static IP address:
- Connect the printer to the LAN.
- Perform a "Self Test" on the printer, see above procedure, the printer will claim a dynamic IP address.
- Browse to the printer: e.g. In a browser URL: http://192.168.0.123 (Use the IP address of printer).
- Log in using the default username “root”, password “public”.
- Network Configuration -› IP Parameters.
- Set the IP address of the printer to be a static IP address (e.g. 192.168.0.250 or 10.0.0.250).
- [Subnet Mask -› as per the self test settings e.g. 255.255.255.0 ]
- [Default Gateway -› as per the self test settings e.g. 192.168.0.1]
- Save the printer settings then exit.
- Alternatively use the App to perform the same configuration.
Set SplitAbility to send prints to the above static IP address:
- Setting - Admin - Printing.
- Select the printer type and add the IP address.
Optional:
- Reserve the static IP addresses for your printers in your router's LAN Setup.
- This is done in the router's "LAN IP Setup" - "Address Reservation" section.
Trouble shooting:
- If the printer does not claim a dynamic IP address.
- Ensure you have DHCP enabled on your router so that the printer will automatically be allocated an IP address (This is usually the default setting).
- Test the connection to the printer by "pinging" it: e.g. From a command prompt: "ping 192.168.0.250" (Use the IP address of printer).
- If the ping test is successful, browse to the printer: e.g. In a browser URL: http://192.168.0.250 (Use the IP address of printer).
To reset a Star WebPRNT printer to factory default settings:
- Power down the printer (Hold down the power button on the front of the printer for 1 second or more).
- Insert a pen tip into the reset hole at the rear of the printer.
- While holding down the RESET switch, press and release the power button.
- Hold down the RESET switch until the Network LED (green) in the center of the operation panel flashes.
- Hold down the FEED button to execute initialization of communication settings.
For detailed information, refer to Star's on-line manual: mC-Print3 Online Manual
See Also:
- Printing for details on graphic & images.